
A messenger was dispatched for reinforcements as the troops swiftly assemble.

The Austrian force marches onto the table and the Hussars find and start crossing the ford .

The Austrian commander Prince Karl Grunte decides to reinforce the Hussars with the Croat Grenz .

The Hussars having crossed the ford deploy into line and the Grenz follow them across the stream .

The Prussian Frei Korp form a line in front of the camp and the Jaegers deploy on their flank.

The Hussars managed to charge home even though they lost their Colonel and 3 figures , they broke the Frie Korp line and persued them into the camp .

On the other flank the Austrian infantry column moved down the road and although under fire from the Jaegers surged over the bridge .
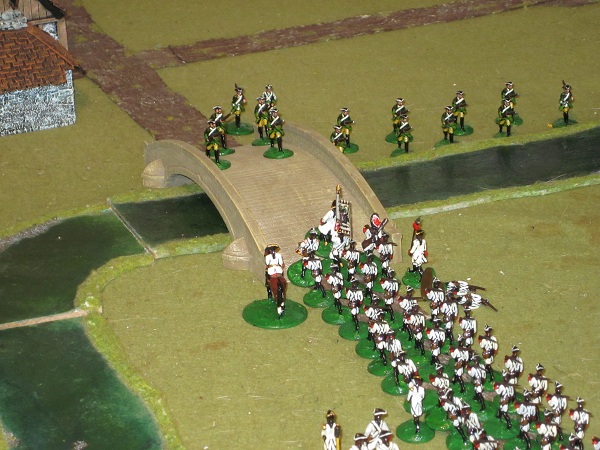

By the end of turn 10 the situation looks like this -

On the left flank the Hussars have destroyed the Frei Korps , but have not yet managed to rally . The Grenz deploy ready to drive the Jaegers out of the wood - however the Prussian Hussars are moving up the other side of the camp. On the right the Austrians are across the bridge driving the Jaegers before them . I have been playing this solo using Grant's rules with modification - units being activated by the turn of playing cards .( red = Prussia black = Austria) . This system I borrowed from 'Lead Gardens' blog , casualties are allocated by card also (Face card = officer casualty).The system works well and there is no need to write orders , which is not practicable in solo play .
too be continued....
No comments:
Post a Comment